Part 2 of Building out our Custom 1 Ton Sprinter Grip Truck
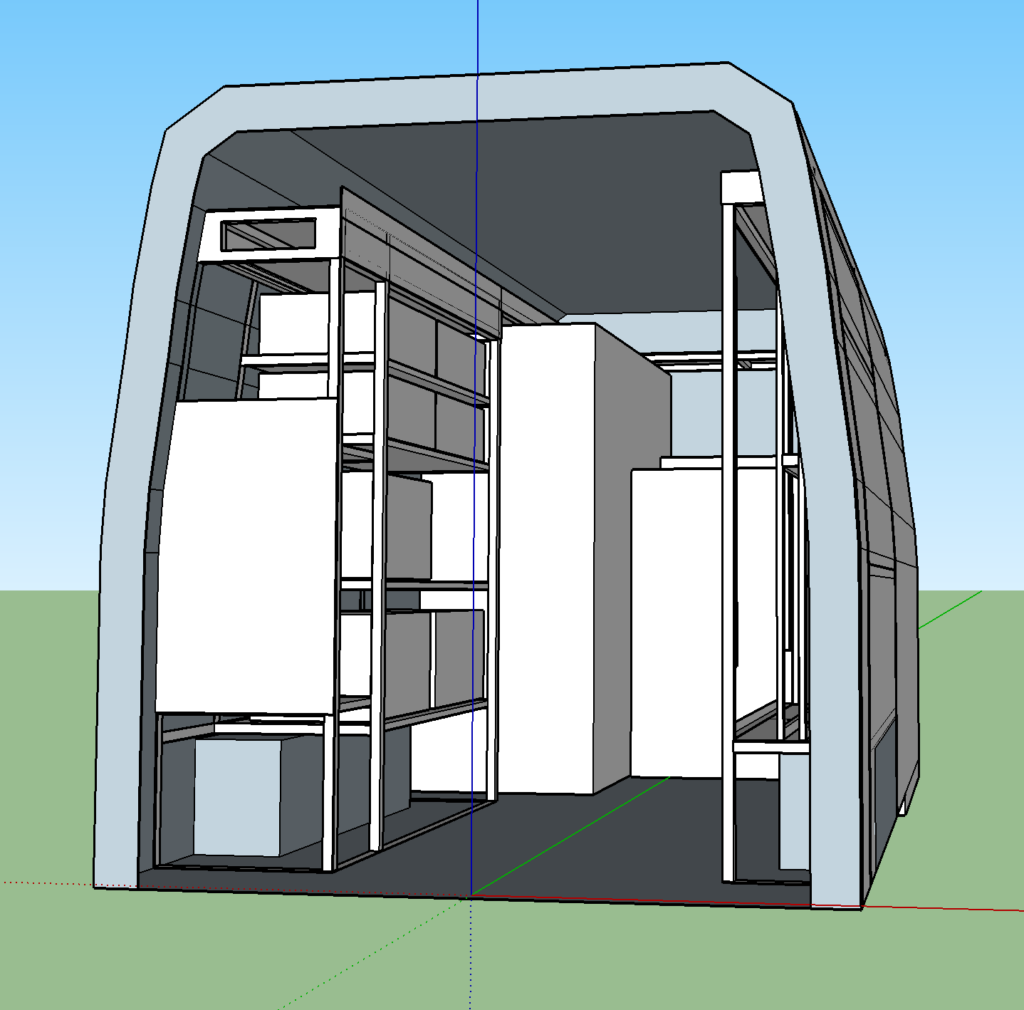
Last we left you guys we had just finished the design on the sprinter. It’s definitely been a while, but the truck is complete and has been working. Thought we would show you the second part of the process of building out this truck.
Since we got the first truck, learning to weld has been a really valuable skill. We looked into getting this done professionally, but we ultimately just decided to do it ourselves once we saw the price and realized that even with a professional doing it, we would have to constantly monitor their progress. It’s really important with these custom shelving units that you test as you build. It’s difficult to think of all of the possible issues you might run into and often times you need to creatively problem solve to get around them.

Using our sketchup file we started cutting and welding the thing together. About 80% of the work was done in about a week, while the other 20% took another 4 weeks! We kept the truck close by so we could test fit when we felt it was necessary.
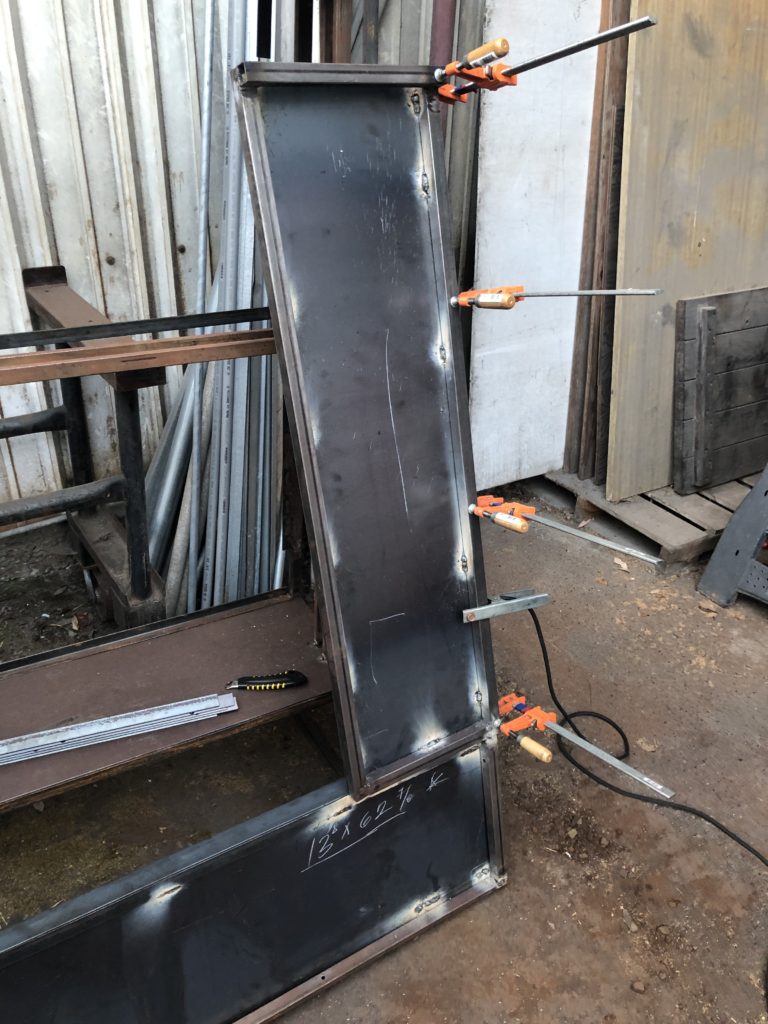
Because everything needs to be very precise, we really could never have enough clamps to hold things in place before we welded them.
Now to say this all went perfect would be, well…a lie. I’ll share with you one of our most painful mistakes.

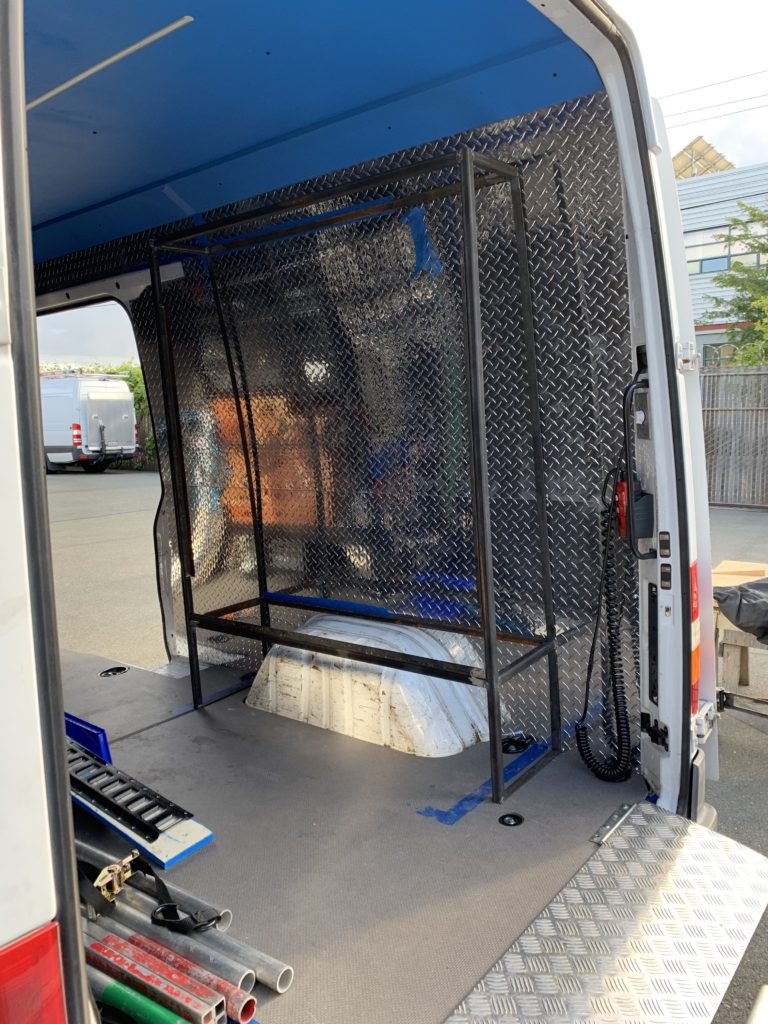
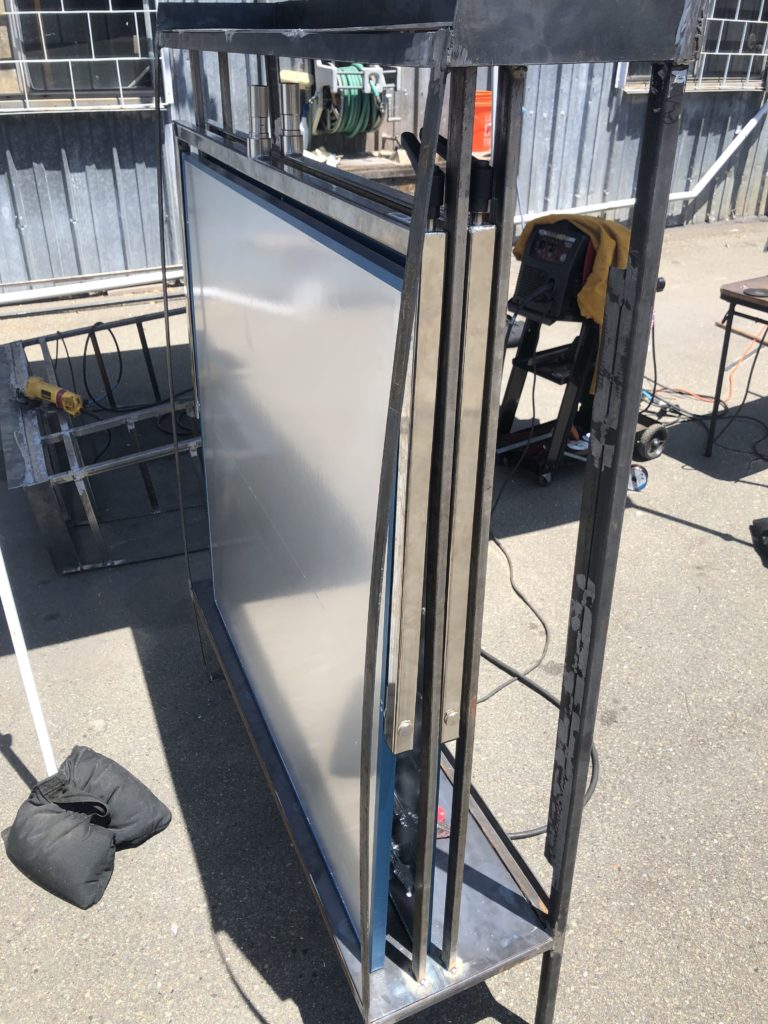
The issue that ultimately came up is that the Duz-All cart should fit underneath this shelf towards the front of the van. We measured the Duz-All to the top of the cart with C-stands, but didn’t take into account what it would be like if there was a 4×4 flag or diffusion frame on it. We had already built the entire frame with the slot already, so going back and re-doing the work wasn’t really a good option.
Ultimately we decided to stack a few 1″x1″ square tube pieces to make the shelf taller and hide it with the 3″ lip. Just goes to show you that you can’t measure enough times.
We also had to pull the E-Track that was previously installed in the truck. It later needed to be remeasured, recut, and reinstalled.
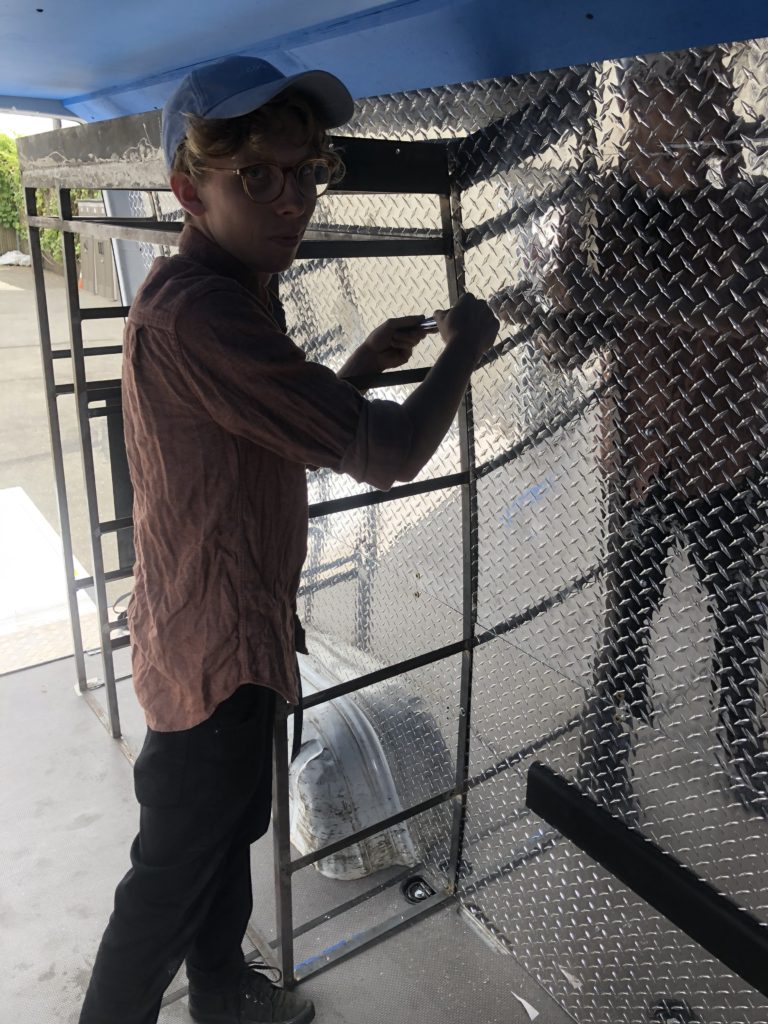
The one thing that was a great find were these things called plus nuts.
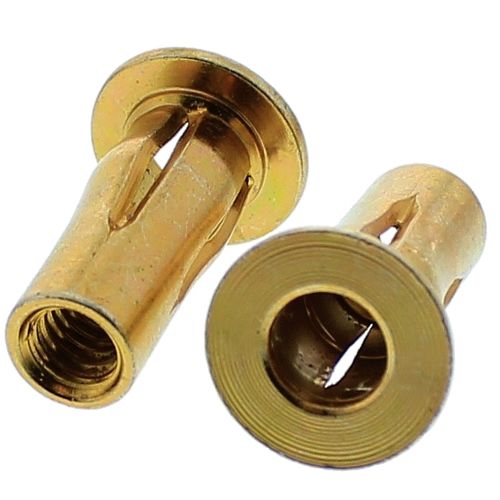
The plus nuts work similar to a rivet. We would drill a hole into the diamond plate, put the plus nut in, then screw a bolt into the plus nut until it would crumple against the diamond plate. Once the plus nut was installed the shelves could be bolted in and out easily as now we had threaded holes. Using these in addition to bolting to the floor made the shelves rock solid.
Finally coming together! As soon as we got the chance we would test fit the piece of gear that would go there.
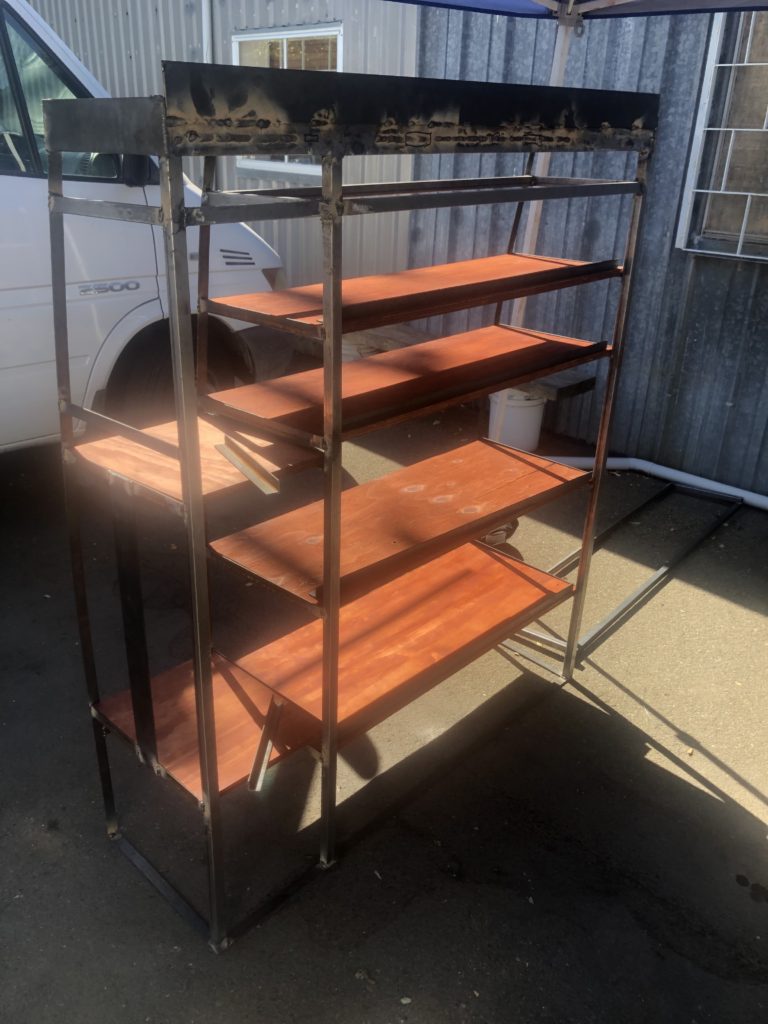
For all the shelving we used 3/4″ Plywood and stained it with Traditional Cherry to match our other trucks. Also had to cut 1″x1″ Angle Iron that would later get screwed on to the front lips of all of the shelves to make them stronger.
We grinded everything down, made everything look good, then sent it off to be powder coated. Here’s it when we started bolting it all in for good.
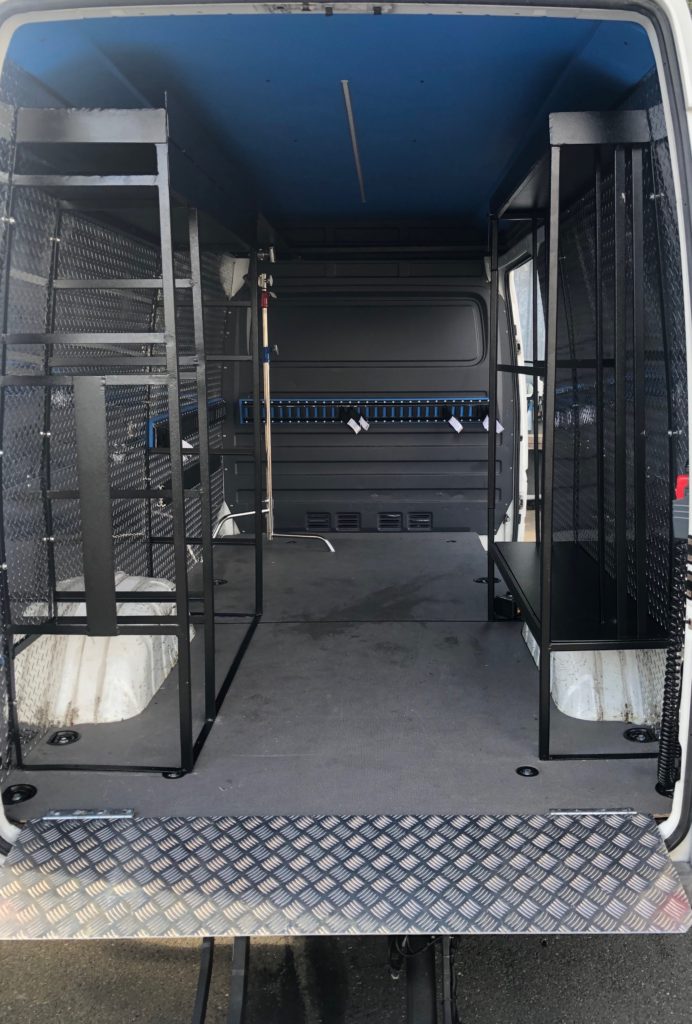
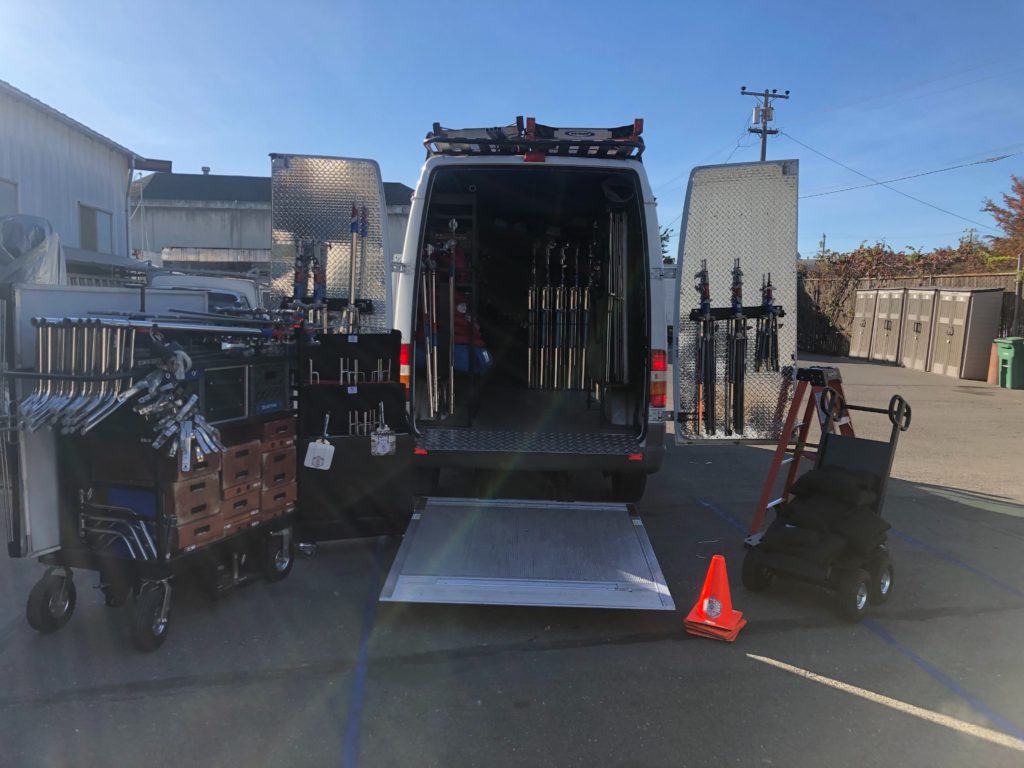
Once we started getting all the gear in it started actually looking like a grip truck.
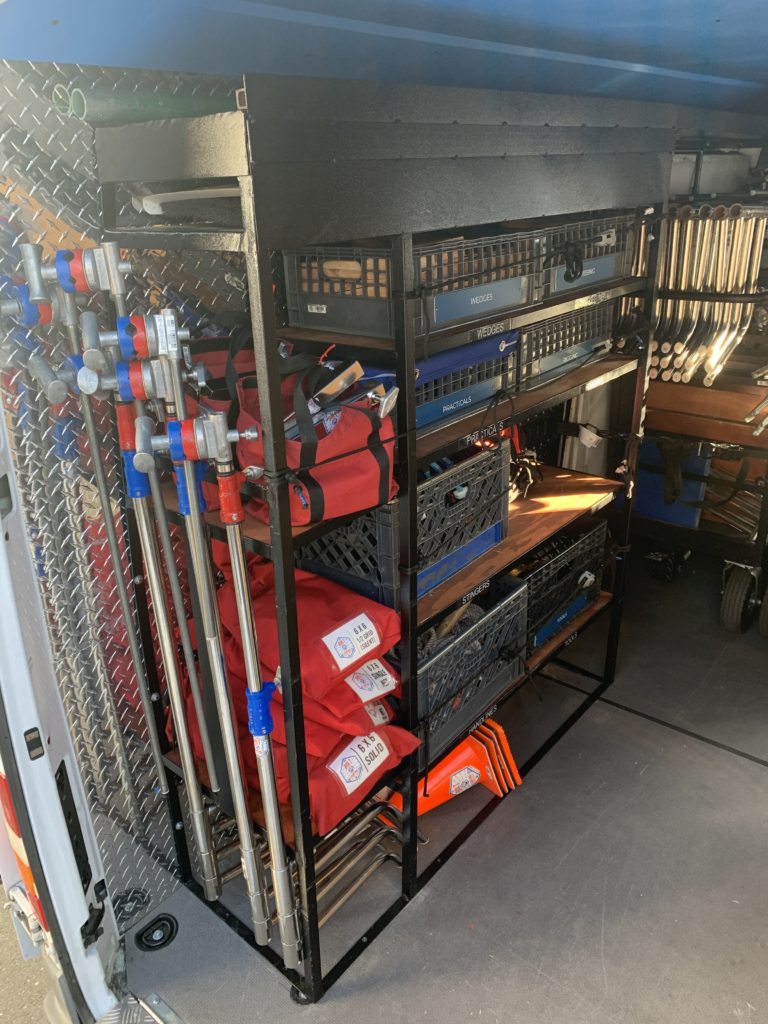
Still working on the finishing touches here, but everything fits!
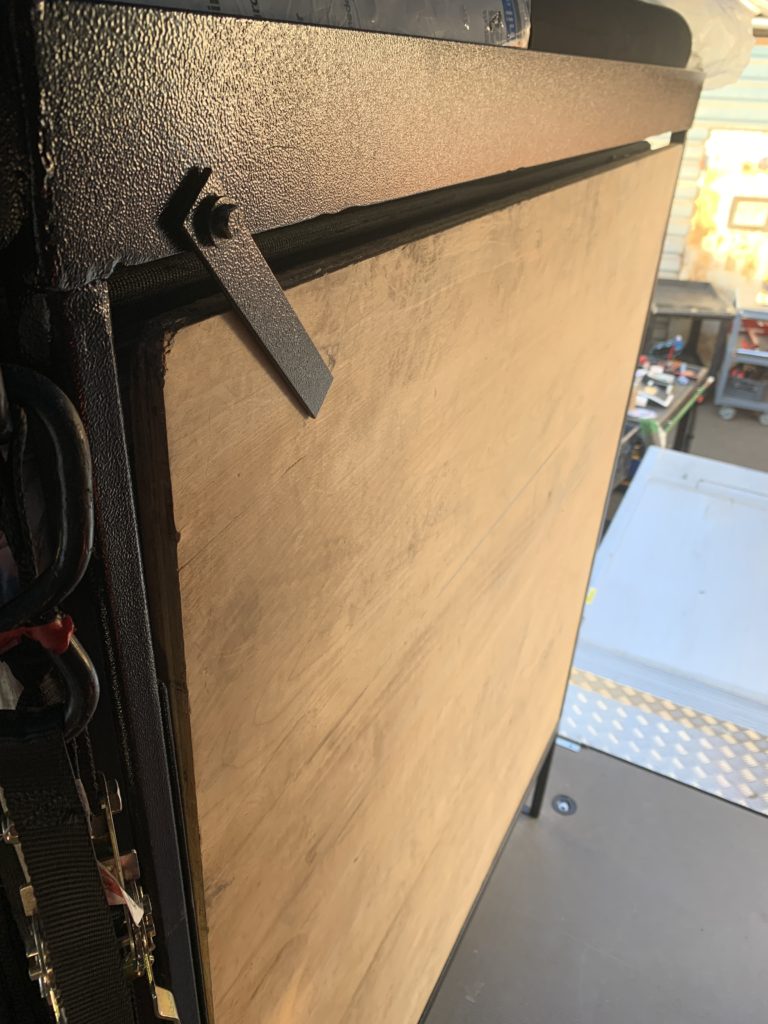
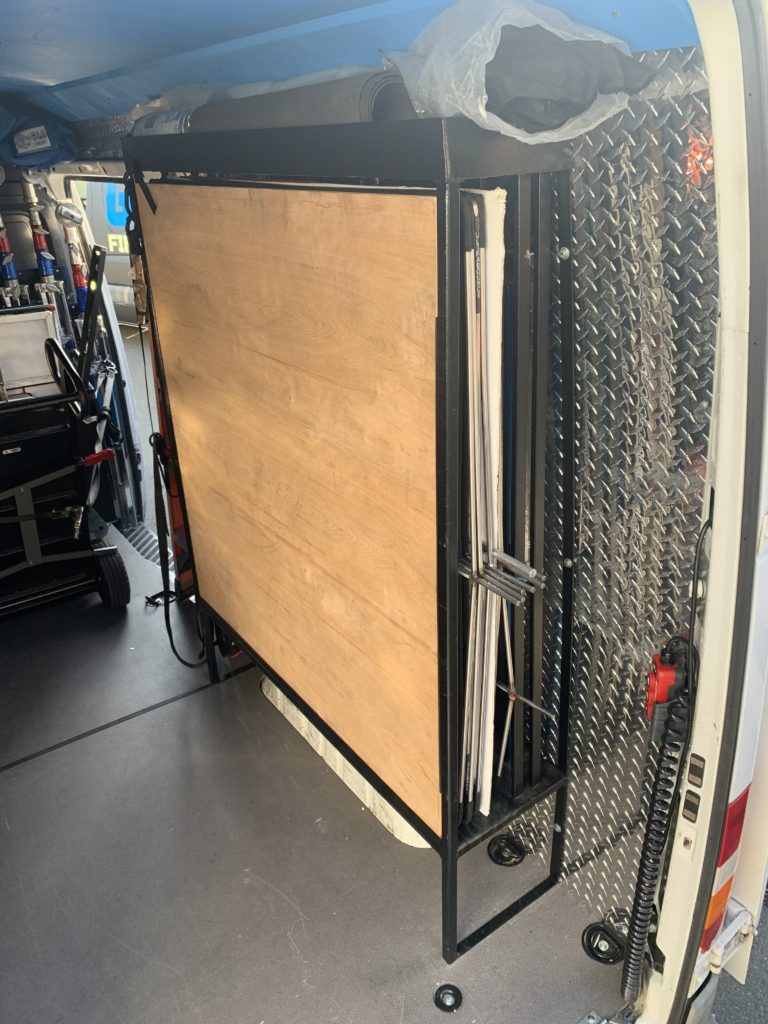
Really pleased with how the inset plywood ended up working out. Added 3/4″ in the aisle and it comes in and out very easily.
Hope you enjoyed seeing how we made this happen.
Bolt Lighting Rental Inc is a lighting rental house located in the San Francisco Bay Area. We’re committed to training the next generation of technicians everywhere. Check out our instagram for daily educational content.